Last Updated on January 13, 2019
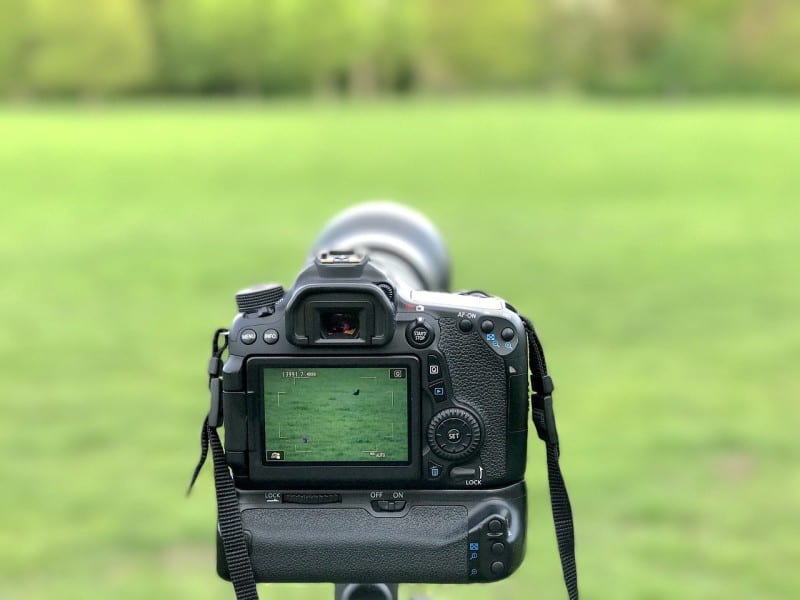
A camera that is designed strictly for video tends to be quite huge. It’s not something you can just leisurely carry anywhere for shooting noteworthy scenes. While there are compact-sized cameras capable of shooting video, they don’t offer the same creative opportunities as shooting with a DSLR or other video-centric models. But since video and stills are two different beasts, how exactly do you get started with video capture on a DSLR?
 Choose a frame size and frame rate based on the video’s purpose
 Choose a frame size and frame rate based on the video’s purpose
Why are you shooting a video? Are you documenting your travels? Where are you going to showcase your footage? Answering these questions helps you decide what frame size as well as a frame rate.
The frame size you use is pretty important because it not only dictates the video quality but also where you can showcase your work. For example, a 1920×1080 video puts your video at HD resolution which is enough to put up on big screens. It should also be noted that frame size also dictates file size. A large frame size always results in a bigger file size.
Since video is basically a bunch of still images moving at a really fast pace, this brings up the importance of frame rate. Expressed in frames per second (fps), frame rate refers to the frequency at which frames are displayed. It has become standard to use 24fps because it allows a smooth flow of movement, but some have even upped that (if supported by the camera) to 30fps, 48 fps, and even 60fps.
So just like frame size, you decide on the appropriate frame rate for the purpose of your video.
Use a shutter speed that compliments your frame rate
The shutter speed you choose should match up with your chosen frame rate for the resulting video to look natural. We won’t bother too much with technicalities but the rule of thumb is this: shoot at 1/(frame rate * 2). For example, if you’re shooting at 25 fps, your shutter speed should be at 1/50.
But “breaking” the rules somewhat allows you to achieve more creative effects. For example, deliberately choosing a slow shutter speed creates more blur thus making the video look more “dreamy.” On the other hand, using a faster shutter speed allows you to present a somewhat hectic feel.
Essentially, the creative choices you make are yours (except of course when you also have a client to please).
Do not use the camera’s internal mic to record sound
Yes, it is a convenience to not have to lug around extra equipment when going on a shoot. But unless you are planning a silent video, the overall quality of your footage greatly depends on your audio. As such, it helps to record sound externally so you can really focus on individual qualities. Doing it this way allows you to record high quality video as well as add on an equally great sound quality.
These may be rather basic guidelines on shooting video with a DSLR but knowing the essentials helps you on your way to creating better videos.